Upgrading your camper with a water heater can significantly enhance your comfort on the road. Hot water facilitates showers, dishwashing, and cleaning especially during colder seasons. If you're ready to tackle a practical and rewarding DIY project, this guide will walk you through everything you need to know to install a water heater in your camper safely and efficiently.
Types of Water Heaters for Campers
Before beginning the installation, it's essential to choose the right water heater. Here's a quick overview of your options:
Tank vs. Tankless
-
Tank Heaters: Store hot water in a reservoir. Reliable but take up more space.
-
Tankless Heaters: Heat water on demand. Compact and energy-efficient but may cost more upfront.
Fuel Types
-
Electric: Simple to install, requires electrical hookup.
-
Gas (Propane): Ideal for off-grid camping; requires proper ventilation.
-
Dual (Gas + Electric): Offers flexibility and efficiency.
Popular brands available at RV Online include Truma and Gasmate.
What You Need Before Installation
Tools & Materials
-
Power drill
-
Screwdriver set
-
Adjustable wrench
-
Plumbing tape and sealant
-
Hose clamps
-
Mounting screws
-
Vent cover (for gas units)
-
Safety gloves and goggles
Other Essentials
-
Access to water supply and drainage
-
Safe space near an exterior wall for venting
-
Shut-off valves and a water heater bypass kit (optional)
Step-by-Step Installation Guide
1. Turn Off Power and Water Supply
Ensure all power (battery and shore) and water lines are turned off before you begin.
2. Prepare the Installation Area
Choose a location near the water system and power/gas source. For gas models, this must be on or near an exterior wall for proper venting. Cut or adjust the access panel as needed.
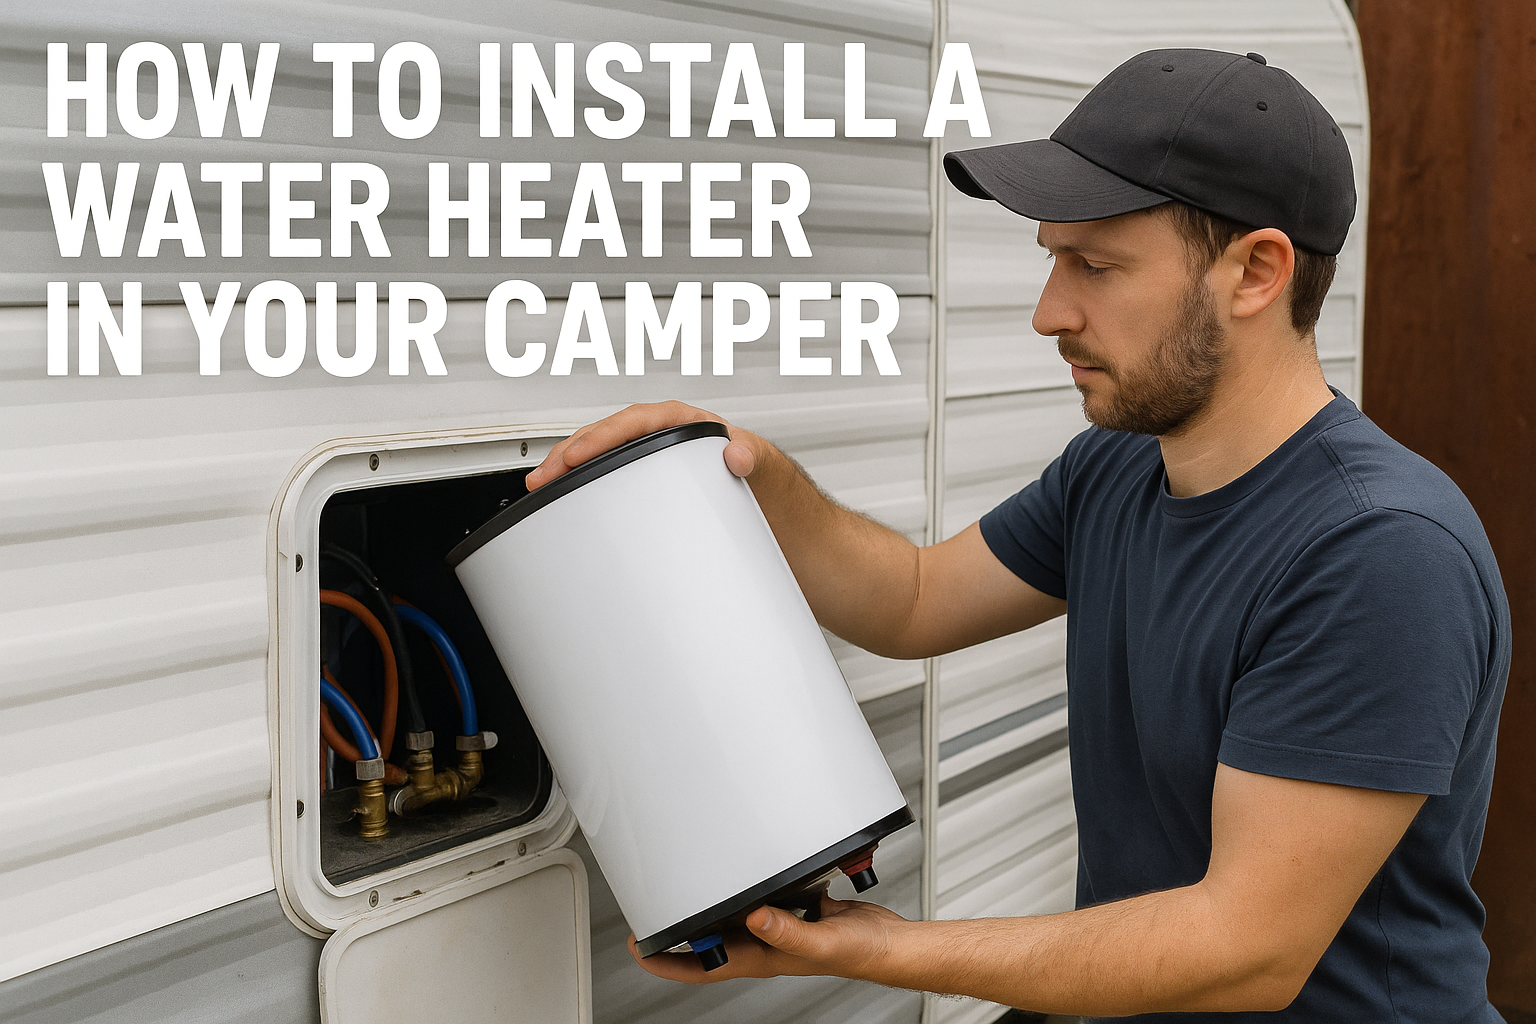
3. Mount the Water Heater
Secure the unit using brackets or mounting holes provided. Ensure it's level and sealed tightly against the wall to prevent leaks.
4. Connect Plumbing Lines
Attach the cold-water inlet and hot-water outlet using hoses or PEX tubing with clamps. Use plumbing tape on all threads to prevent leaks. A bypass valve setup is helpful for winterizing later.
5. Connect Power or Gas Supply
-
Electric: Connect wiring according to the manufacturer’s instructions. Make sure the power is off while connecting.
-
Gas: Connect to the propane line. Check all fittings with a soapy water solution to detect leaks. Never light the heater if a leak is suspected.
6. Test the System
Restore water and power. Check all plumbing for leaks. For gas units, ignite the pilot light or switch on the igniter. Allow the system to run and ensure hot water is flowing properly.
Recommended Water Heaters
Here are some top-rated water heaters available at Our Store
1. Truma UltraRapid 14L Hot Water System (Gas/Electric)
-
Features: Compact design, rapid heating, and excellent insulation.
-
Ideal For: Campers seeking a reliable and efficient water heating solution.
-

2. Truma AquaGo Instant Gas Water Heater System
-
Features: Instant hot water with hybrid technology and temperature stabilizer.
-
Ideal For: Those desiring continuous hot water supply without temperature fluctuations.

3. Gasmate WaterTech Portable Hot Water System 5L
-
Features: Portable design, easy assembly, and adjustable water flow.
-
Ideal For: Campers needing a flexible and mobile hot water solution.

Tips and Safety Precautions
-
Install a carbon monoxide detector if using gas.
-
Use a ventilation grill to prevent gas buildup.
-
Double-check all connections for leaks.
-
Never run the heater when empty.
-
Consider insulating water lines to prevent freezing.
When to Call a Professional
If you're not comfortable with electrical wiring or gas connections, it’s best to hire a certified technician. Some camper warranties may even require professional installation.
Installing a water heater in your camper enhances your travel comfort and adds value to your vehicle. With the right tools and safety precautions, this project is manageable for most DIYers. Take your time, follow the steps, and enjoy the luxury of hot water wherever your journey takes you.